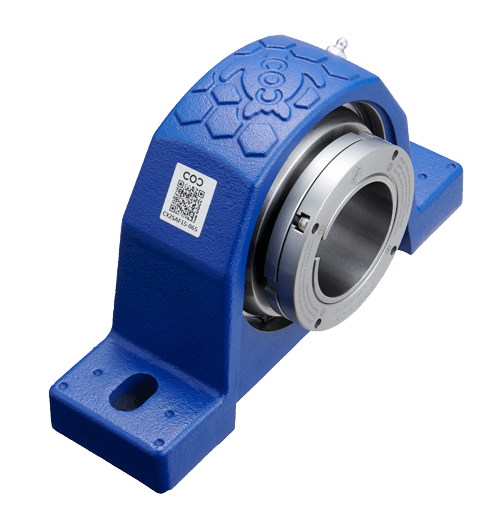

CX2SAF11-200 (E)
MOUNT:
- Check all cap screws are freed.
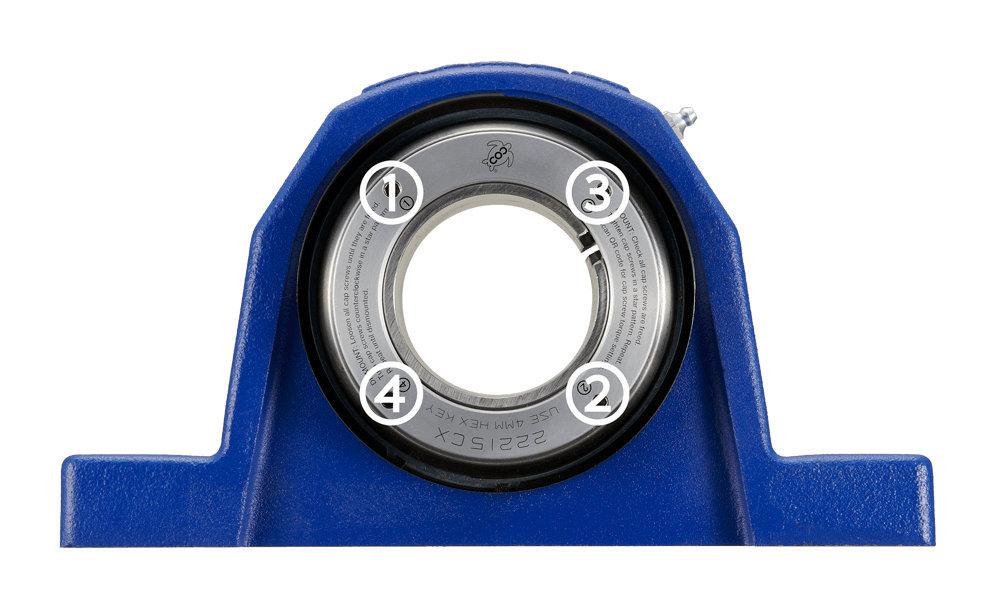
- Tighten cap screws in a star pattern. Repeat.
- When using a torque wrench, tighten each cap screw to the appropriate torque value above.
Note: The outside nut should move parallel to the inside nut to avoid the cap screws twisting and getting damaged. This is why the cap screws are tightened in a star pattern and repeated. You may need to repeat this several times to tighten all the cap screws perfectly, this is a very standard way as seen with automobile wheels.
DISMOUNT:
- Loosen all cap screws unitl they are freed.
- Turn cap screws counterclockwise in a star pattern and repeat until dismounted.
