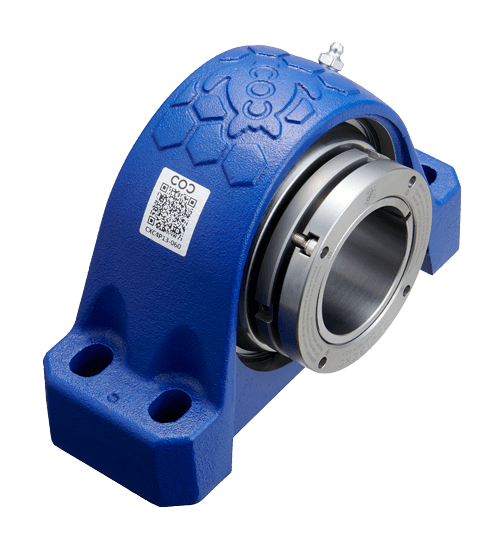

CXC4(E)P26-415 (E)
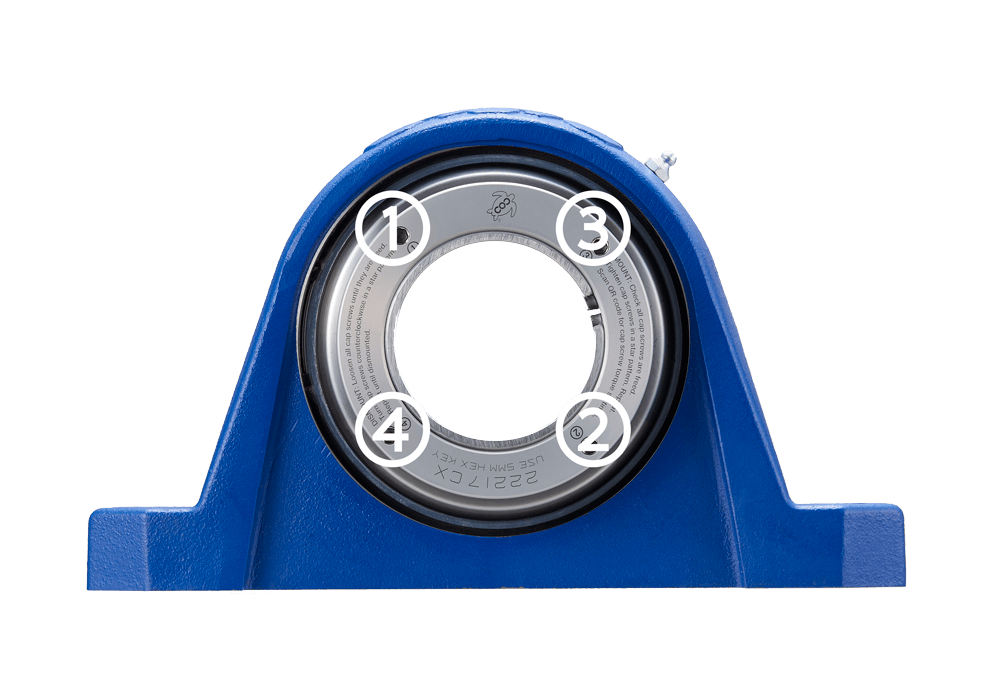
MOUNT:
- Check all cap screws are freed.
- Tighten cap screws in a star pattern. Repeat.
- When using a torque wrench, first tighten each cap screw to 50 percent of the specified torque value, and then tighten them again to the full 100 percent torque value. Make sure to use a star pattern both times.
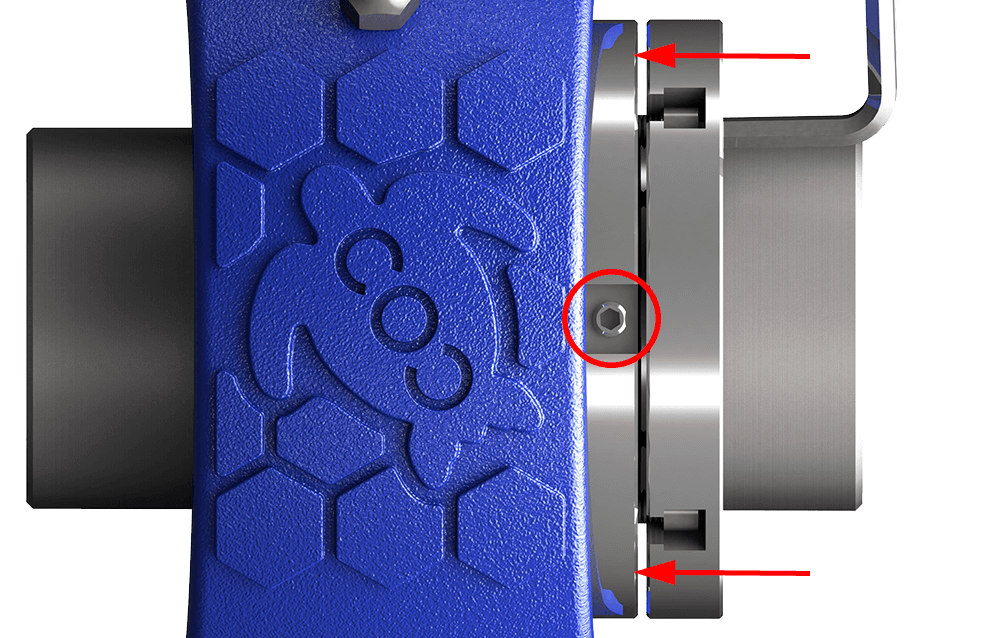
- Tighten the setscrew circled in red in the picture below.
Note: The outside nut should move parallel to the inside nut to avoid the cap screws twisting and getting damaged. This is why the cap screws are tightened in a star pattern and repeated. You may need to repeat this several times to tighten all the cap screws perfectly, this is a very standard way as seen with automobile wheels.
DISMOUNT:
- Loosen all cap screws unitl they are freed.
- Turn cap screws counterclockwise in a star pattern and repeat until dismounted.
Recommended Shaft Tolerance : -0.005 in. / -0.127 mm
When the shaft is smaller than above, you can try below.
1. Loosen the CROSSLOC™ CXC two nut locking system and take off from the unit. (Take care not to change the clearance between the nuts.)
2. Loosen the sleeve until you can see a couple threads inside the nut.
3. Put the CROSSLOC™ CXC two nut locking system back on the bearing.
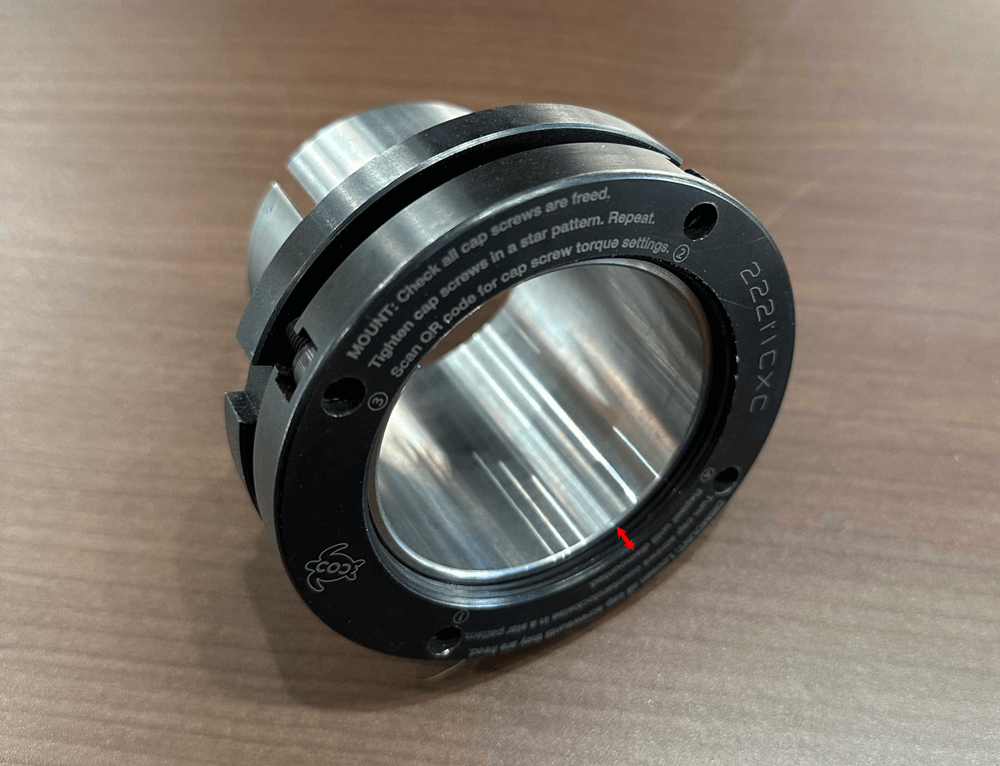
FIX TO EXPANSION
When your application needs to be able to accommodate thermal expansion of the shafting, use only one fixed bearing on each shaft.
By simply moving a snap ring on the back of the unit the bearing can easily be converted from non-expansion to expansion or vice versa.