
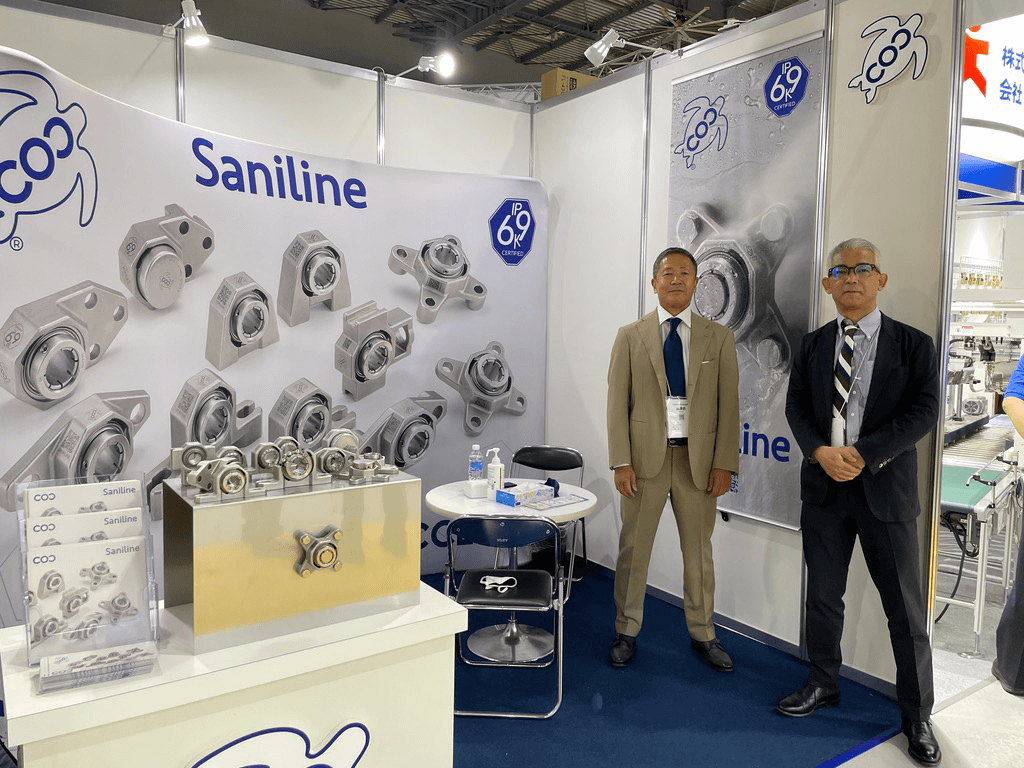
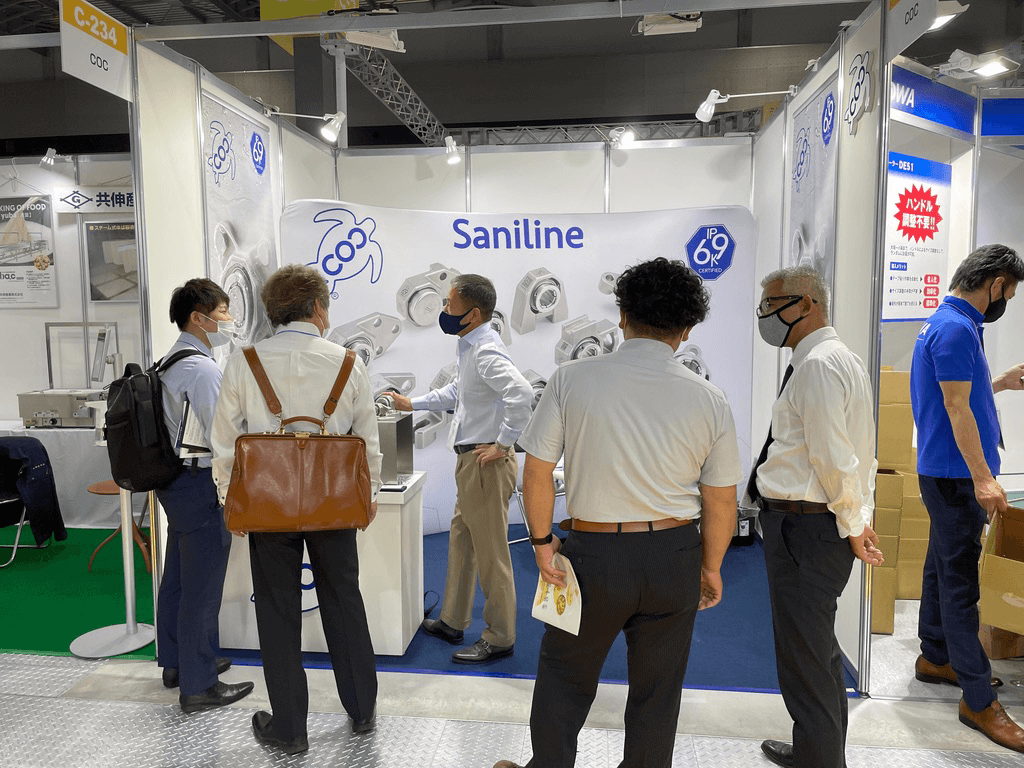
FOOMA JAPAN 2021


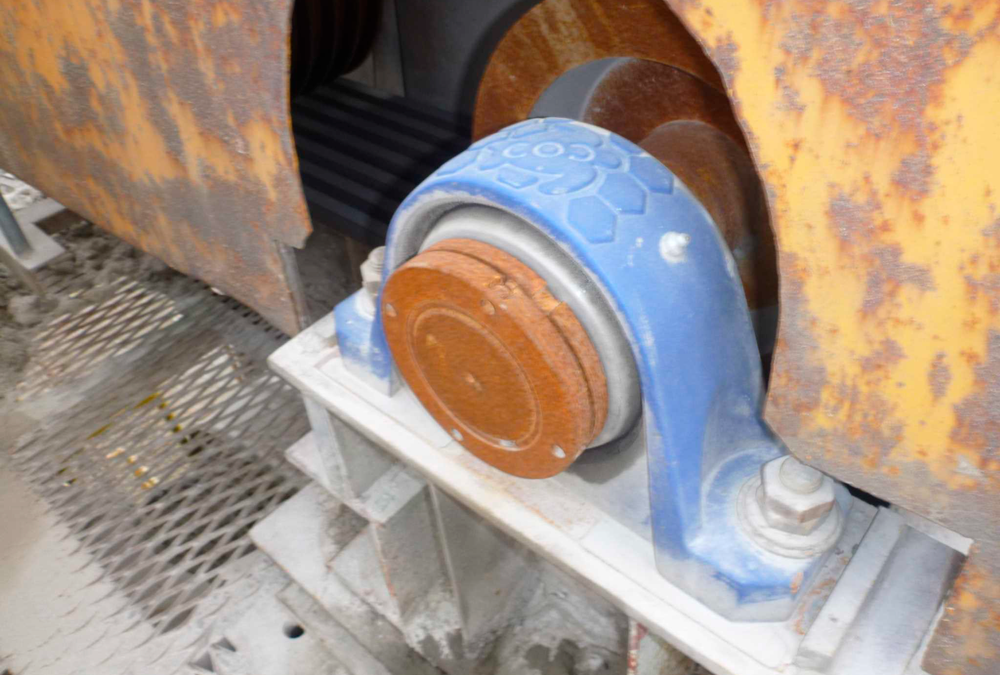
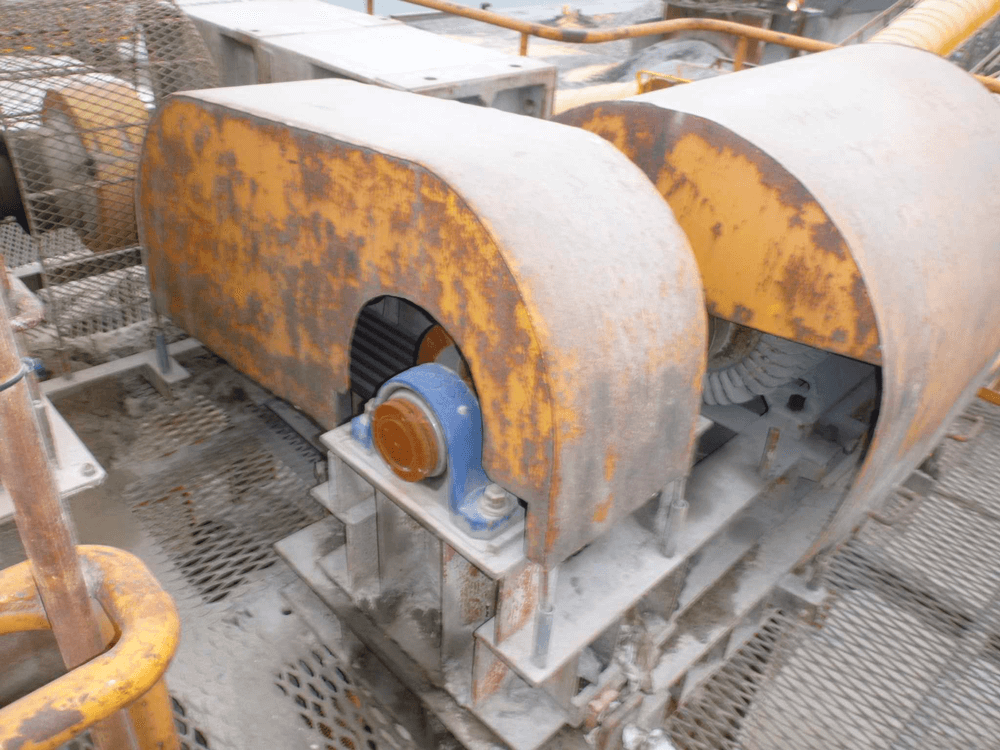
We wanted to post a follow up from our post from July 1st 2020. The company had switched from two piece plummer block unit SN520 to our CX2SN20-090L in July of last year. The COC bearing solved an issue that had been having for many years.
They called to thank us for our bearings because they used to have to change the SN520 every 3 months but our bearings are still running after 9 months.
They had ordered spare bearings to put on when the first set wore out but have had no chance to use them. Our COC bearings have saved them down time on the lines and the labor involved in changing the units out. They are so happy with the money they have saved by switching to COC. COC is so glad we have been able to solve this problem they had been having for so many years. These bearings are used outside by the ocean and we have told them that our covers would add even more protection is this environment.

Eiichi Kobayashi’s interview is on Bearing News Magazine March issue page 66.
https://issuu.com/bearingnews/docs/bearingnews2021-march-web/66
https://www.bearing-news.com/interview-a-tradition-of-innovation-for-mounted-bearing-units/

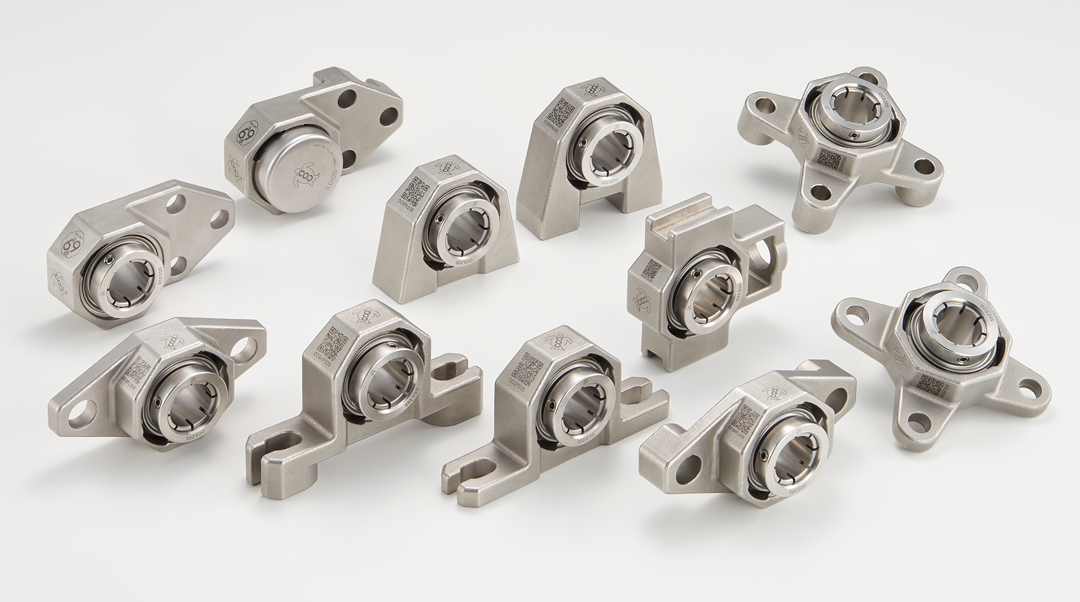
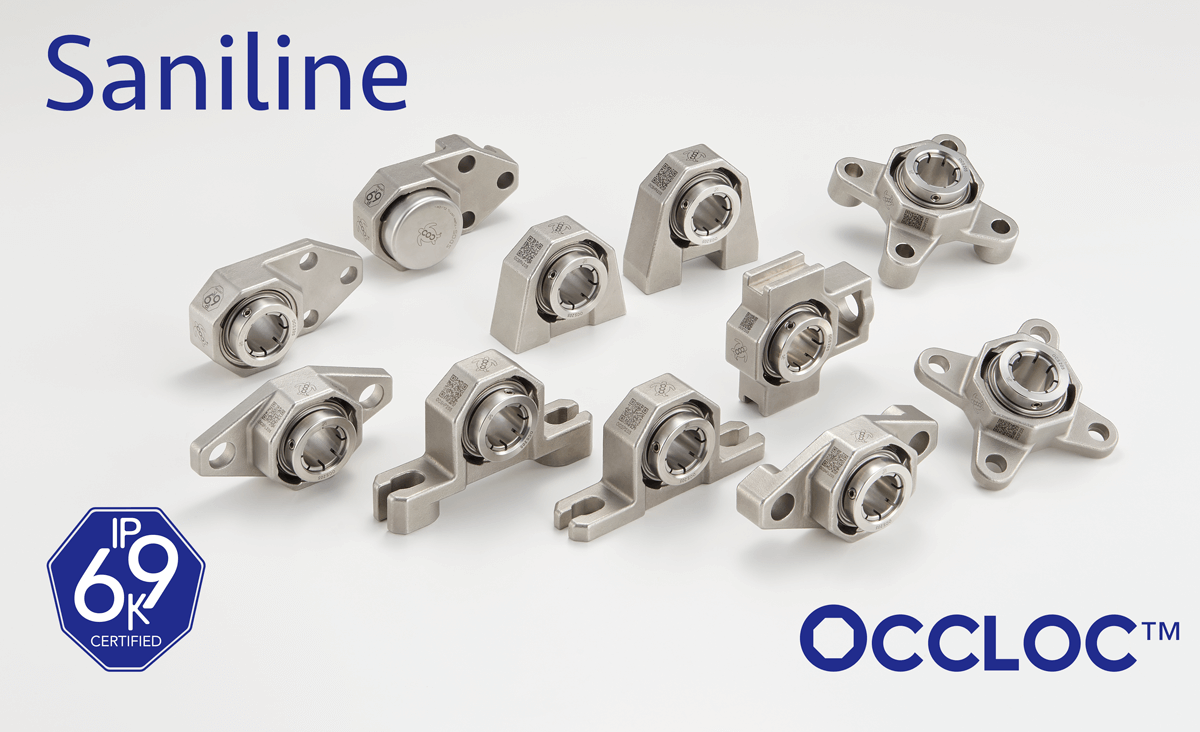
New stainless ball bearing units for washdown applications, Saniline is launched.
IP69 certified lubricated for life sealing system with new OCCLOC™ concentric locking system allows the ultimate in food safety.